We’ve recently updated our top menu navigation (July/August 2024). We’re currently updating our user guides to reflect these changes, so thank you for your patience while we work on this. The new menu is user-friendly, so you shouldn’t experience significant disruption. If you need help locating specific items in the new menu however, watch our quick videos for admin users here, and for teachers here.
- For QQI data to be correct, all PLC Subjects must have a QQI code set in the Subjects screen.
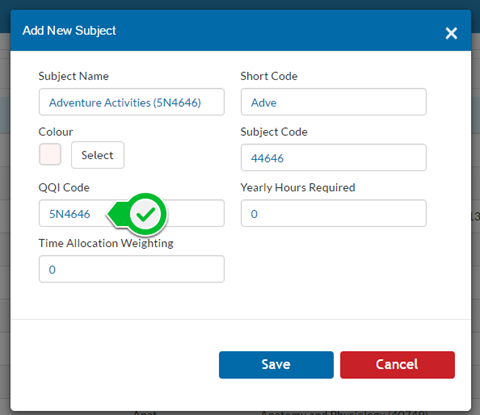
- To set a QQI code to a subject, go to Settings –> Subjects –> Edit the Subject and fill out the QQI field as seen below.
- Students will automatically be assigned their QQI components once they are members of teaching groups in Class List Manager.
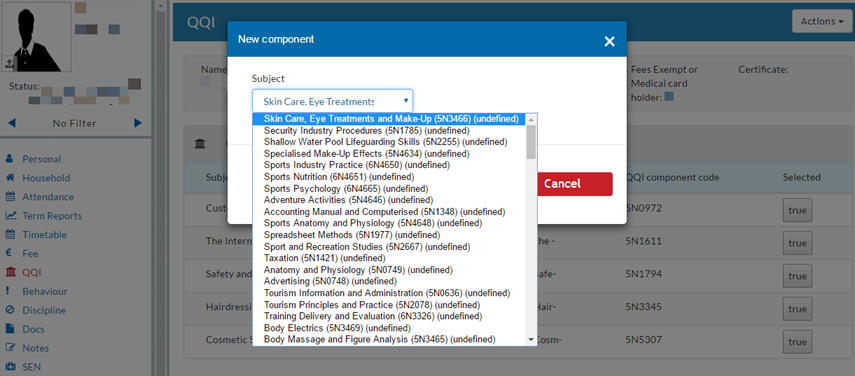
- To manually assign a component to a student who is not a member of a teaching group, go to the Student’s profile -> QQI tab –> Actions –> New Component –> Select a component and Save. Please note that you will only see a list of subjects that have QQI codes set here. If there is something missing from this list, make sure you go to the Subjects screen and set a QQI code to the subject.
- It is not possible to manually assign a component to a student if they are not in a base class.
- Generate QQI Files: This can be done by Class, by Group or by individual Student.
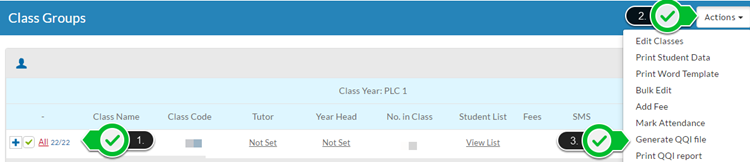
- To print by Class, go to the Classes tab –> Check the box of the classes you wish to include –> Click Actions and Generate QQI as seen in the example below.
Repeat steps if you wish to do this by Group.
- To generate for an individual student, go to the Student’s profile –> QQI –> Actions and Generate QQI file.
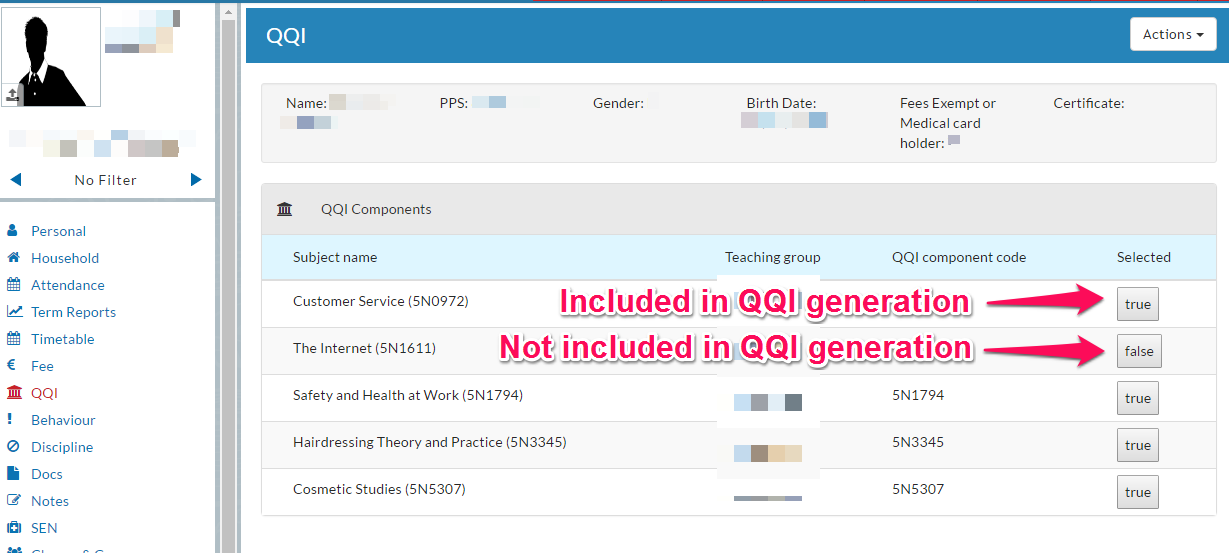
- If there is a subject that you do not want included in a Student's QQI file, set the subject to 'False' by clicking on the 'True' button. All other subjects will appear as 'True' by default. See image below as an example.
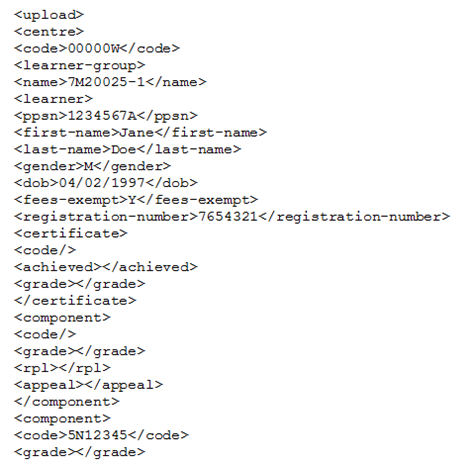
- The QQI file will generate in an XML format and will look like the image below.
- Print QQI report: This can be done by Class, by Group or by individual Student. This is the exact same process as generating QQI files, only you need to select Print QQI report instead.