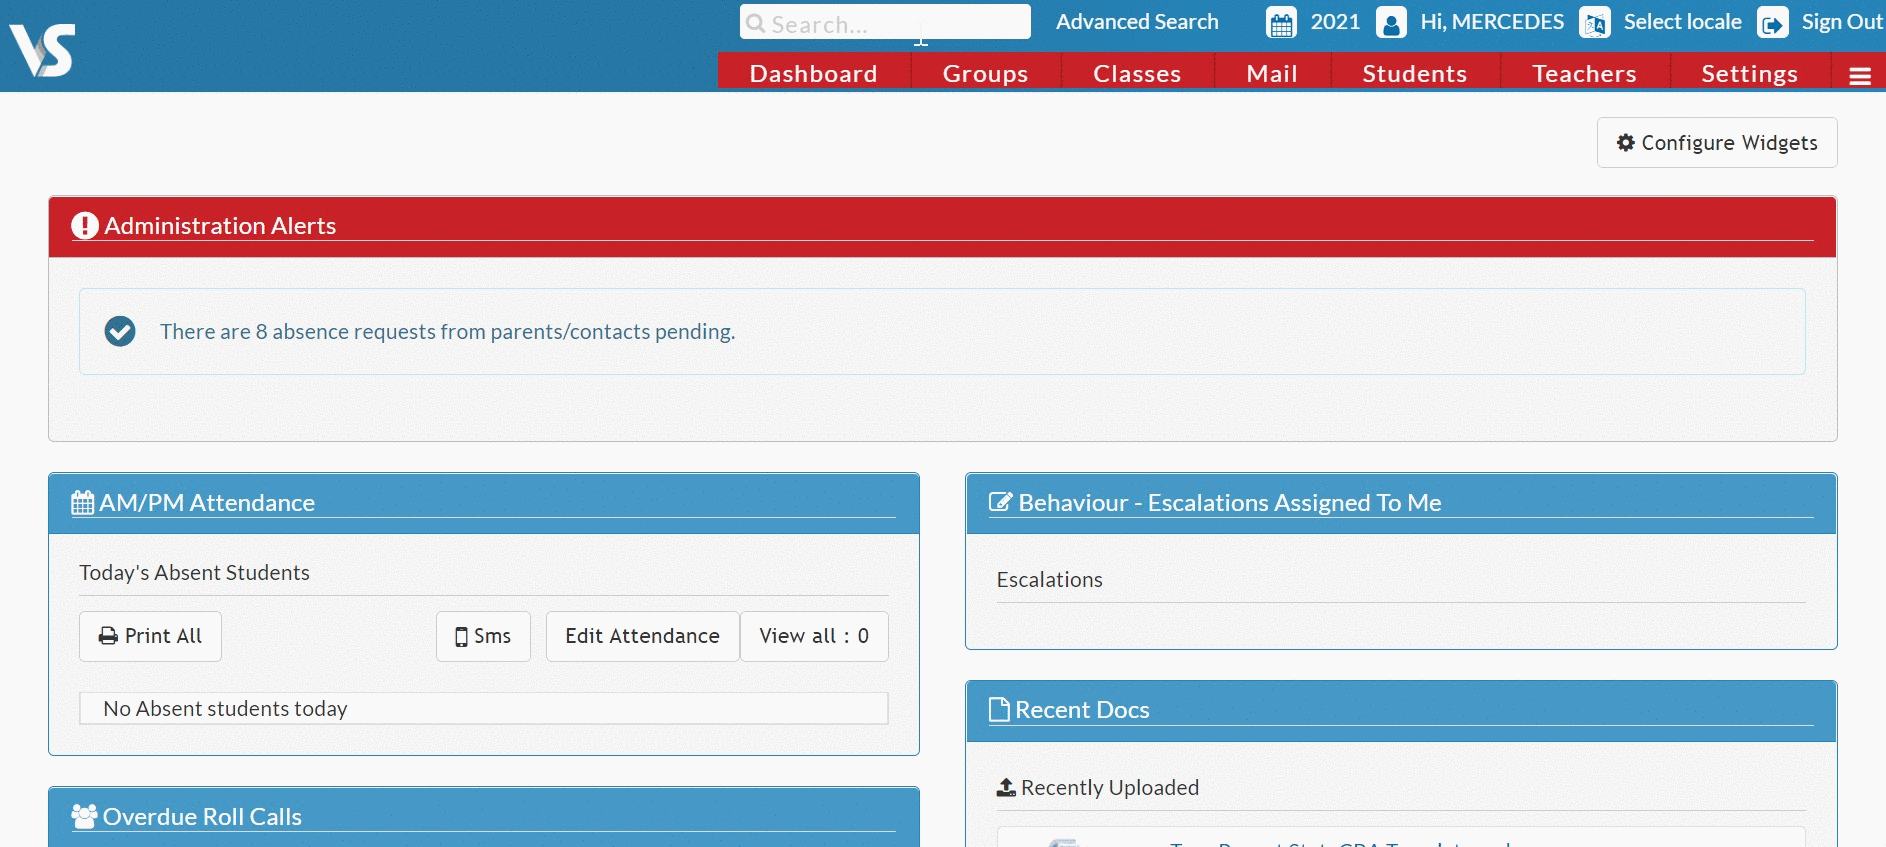
We’ve recently updated our top menu navigation (July/August 2024). We’re currently updating our user guides to reflect these changes, so thank you for your patience while we work on this. The new menu is user-friendly, so you shouldn’t experience significant disruption. If you need help locating specific items in the new menu however, watch our quick videos for admin users here, and for teachers here.
Last updated: 30/03/2023
You can upload student profile photos in 3 ways.
- For an individual student via the web browser using an existing file. (Secretary and Principal users only)
- For an individual student via the mobile app (tablet, phone etc) using your camera to take a picture of the student. (Teacher users can access if given the permission in users and groups)
- For a group of students using the bulk upload feature. (Principal users only)
1. Upload an individual student photo via the web browser using an existing file
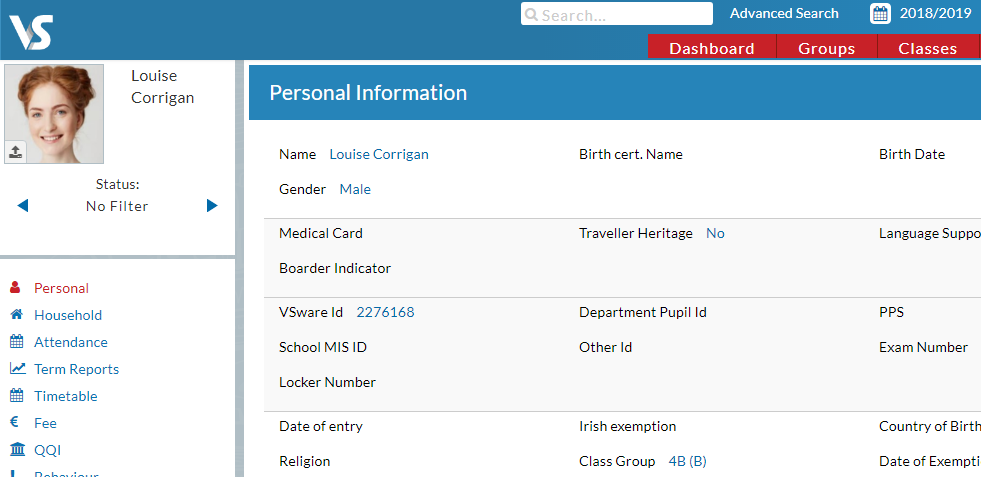
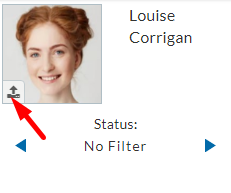
- Go to the student's profile
- Click the upload button
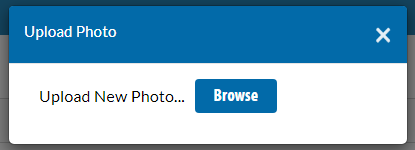
- Click the browse button to search your computer for the photo. Once you have the file, click open to upload the photo.
2. Take an individual student photo through the app
- Open the app > tap 'More'
- Select 'Students'
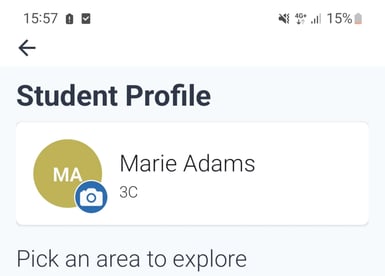
- Select the student's name
- Tap the camera button beside their name
- Your camera app will open and you can take a picture of the student who is in front of you
Please note, it is not possible for any user to upload a photo that is saved on your device via the VSware Mobile App. When using he app, the photo must be taken live.
Teachers can be given the ability to take student photos via the app by being given the Users & Groups permission 'Allow teacher access to learner photo upload (mobile app only)'
3. Bulk upload photos for a group of students via the web browser
If your school or a photographer has taken photos of a large group of students, these can be uploaded in bulk to VSware. There are some requirements that the photos must meet before you proceed.
- The photos should be labeled with the Students’ VSware ID and not their name.
- The photos should be in JPG/JPEG format.
- The photos should be placed directly into a zipped/compressed folder (not in a folder within the compressed folder).
- The file the photos are in should not have any spaces in the name (Using a school roll number as the name of the folder is what we recommend).
- Please note that the photos should not be organised by class or date. The VSware ID is sufficient to get the photo where it needs to be. Please change this and re-upload if that is the case.
Once your file is ready, a principal user may go to Admin and select Uploader. Under "Upload type" select Bulk Learner Photo. Please review the requirements for the photo upload. Click where it says "Click to select files" and choose your Zipped/compressed file. You may then select Upload Files. If you files are successful, your page will reload and you can see the status of the uploaded file at the bottom of the page under "Previous Uploads."
See the video below for an example.
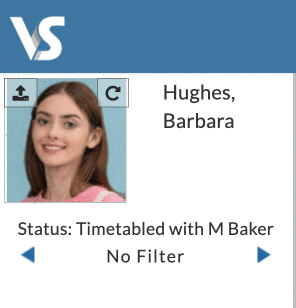
Photo rotation button
Secretaries and principal users can manually rotate an individual student's profile pictures if it has been uploaded in the wrong orientation and appears sideways or upside down etc. Simply click on the rotate button on the top right of the profile photo to move it to the correct position. This feature is not available in the Mobile App.
If you still have questions, please visit our knowledge base at support.vsware.ie. You can contact our support team via email at support@vsware.ie, via the chat bubble when you are logged into your VSware account or via phone on 01-5549628. Support hours are Mon - Fri, 08:30 - 18:00.