We’ve recently updated our top menu navigation (July/August 2024). We’re currently updating our user guides to reflect these changes, so thank you for your patience while we work on this. The new menu is user-friendly, so you shouldn’t experience significant disruption. If you need help locating specific items in the new menu however, watch our quick videos for admin users here, and for teachers here.
Watch the video below for an overview of Users & Groups.
Introduction to Users and Groups
In order to improve security, we have created brand new screens for managing users and their permissions.
We know that each school is unique and roles and responsibilities can be divided up in lots of different ways. These new screens not only increase security by making it easier for a school to manage who has access to what data, but it also cuts out a lot of the cumbersome work associated with managing permissions on a user by user basis.
So how does it work?
With this new system, a school is now able to manage all users and also create bespoke user security groups. For example, you can decide to create a group of year heads, class tutors, career guidance, attendance officers, teachers with timetabling permissions etc.
Previously, it was only possible to grant permissions on an individual basis, meaning that you would be forced to go to the account page of each individual yearhead for example and grant the specific permissions you wanted them to have.
The layout of the new screens means that this is no longer necessary. It has been simplified so that everything is contained in just two screens, one to create the security groups and allocate the permissions associated with them, and one to drag and drop the names of the relevant users into those groups. It’s that simple!
Before we explain the steps, lets clarify which users have access to this screen.
- A user with a principal role can allocate any user as well as create bespoke groups.
- A user with a secretary role can allocate teachers to the teacher, casual teacher, year head or tutor group, as well as create bespoke groups and place people into them. A secretary is not able to allocate another secretary or principal user. Only the principal has full control over all users.
Step by step guide - The Permissions Screen
- First, go to settings:
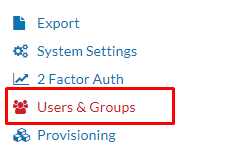
- Then Users and Groups on the left hand panel:
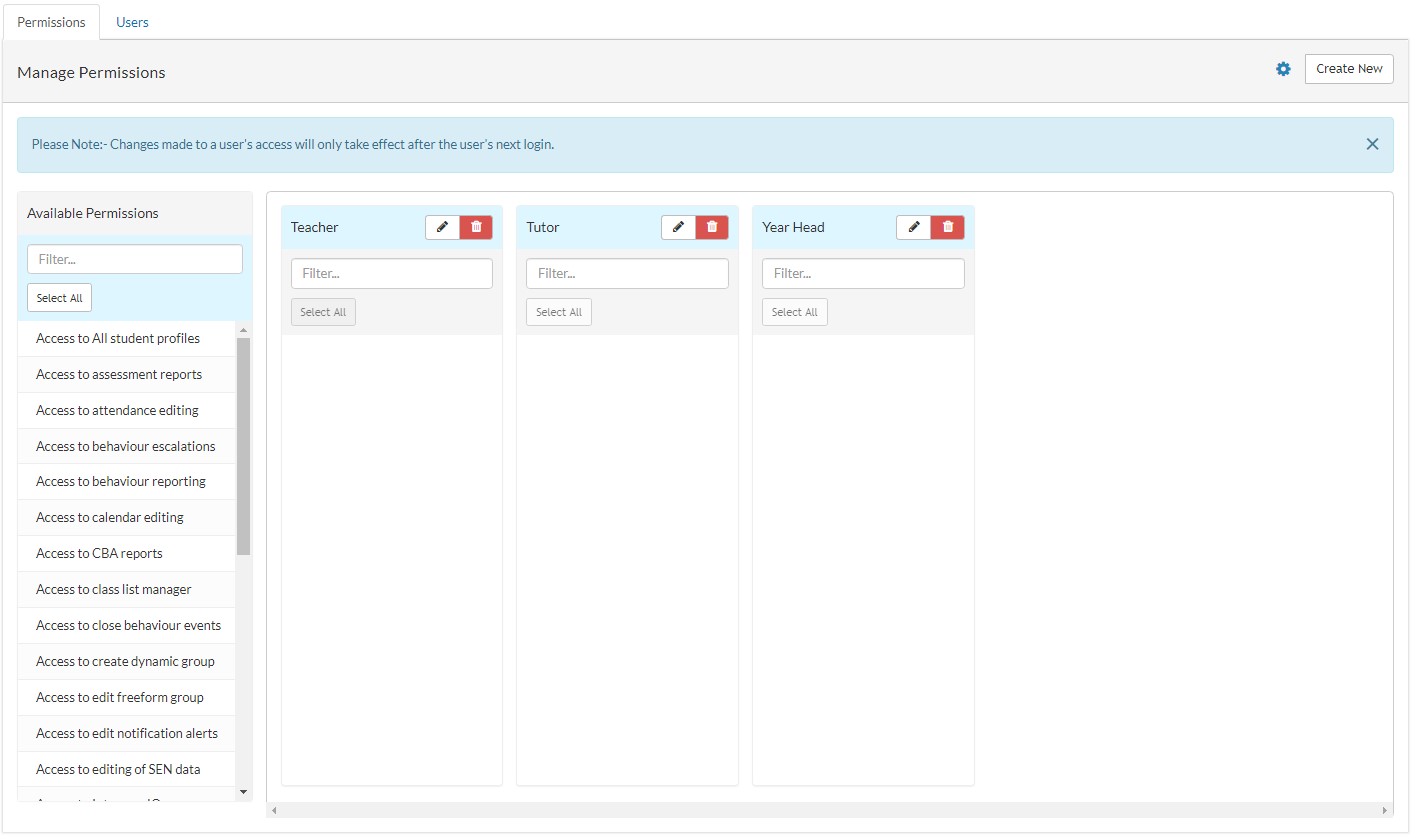
- You will first see the permissions page with each permission listed on the left side of the screen. The first time you access this screen, the main panel will include 'Teacher', 'Tutor' and 'Year Head' by default. Start by populating these groups with the relevant permissions.
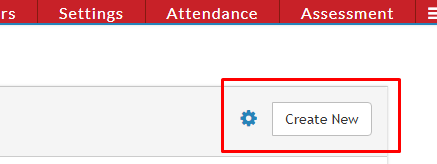
- To create a bespoke security group, click 'Create New' in the top right corner:
- You can then name your group and give it a description > once complete, click ‘Create’.
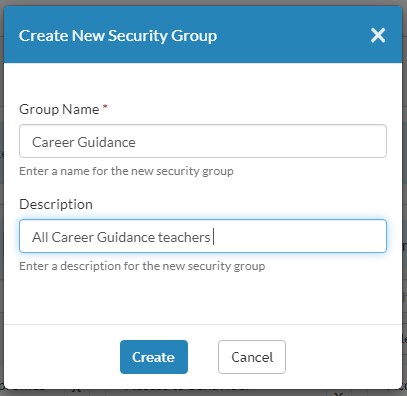
- Your new security group will then appear in the main panel. In this case, we have created a 'Career Guidance' permission group.
- Next, get to work moving the permissions that you would like your career guidance teachers to have. In the video example below, we have decided to give career guidance teachers the permission 'Access to view teacher's timetables'.
- Notice that you can drag and drop the same permission into multiple user groups, as well as delete them as you need. There is also an option to use the plus button instead of the drag and drop function. This can be useful when using a tablet as drag and drop can sometimes be difficult on these devices.
Step by step guide - The Users Screen
Once the permissions are set, you will need to decide who is placed into each group.
- Click the ‘Users’ tab and place the Career Guidance teachers into your new panel. Similar to the Permissions screen, you can use either the drag and drop function or the arrow buttons to move the names. See the animated images below.
- Note that there is a 'Casual Teacher' column on this screen. As mentioned before, this allows a very basic level of access. This can be used for substitute teachers who only need basic access for example.
- Once your users are in the correct group, you are finished! The next time the user logs into their account, their account will be updated.